Small Space Storage - Bathroom
Small Space Storage in a bathroom is a great solution to a tiny area for cleaning supplies. Great ideas shared here!

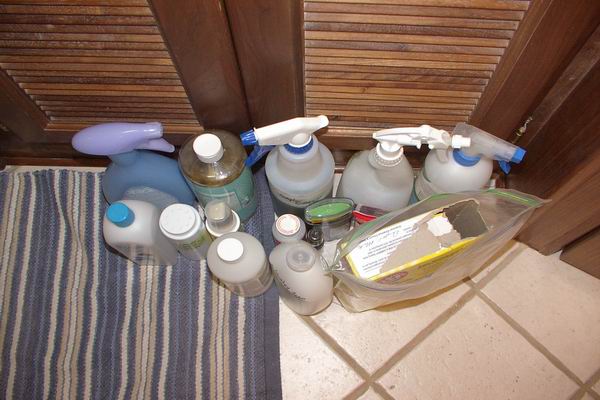
Storage is always an issue when living in an RV or any small space. I try to keep my cleaners and toiletries to a minimum with products that have several purposes but somehow the bottles seem to multiple over time.
Every open inch of space in our RV is scrutinized intensely to see how it can be used to maximum advantage.
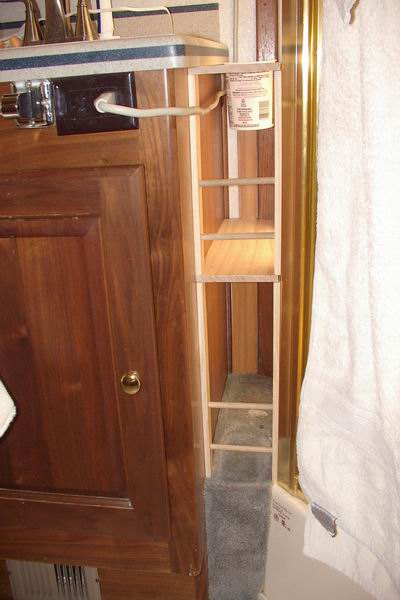
In the Bathroom between the sink vanity and the shower stall is a space 5 ¼” x 16” x 26”. If you just look at the 5 ¼” width it doesn’t sound like much space but if you add in the height and depth you’re talking a lot of space.
Initially all we had there was a small trash can now I have
storage for all this stuff - a great small space storage solution
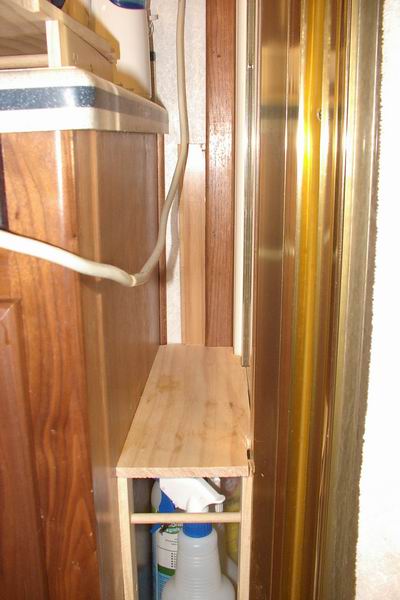
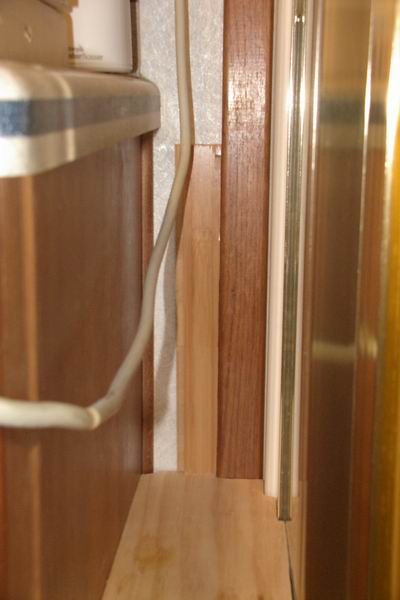
It is an awkward space because of the shape of the shower stall (and how it was installed) and the cord for the power strip. The only power outlet is in the front of the vanity and the positioning of the sockets made them very hard to use.
We attached a power strip to the back wall and ran the cord to the front of the vanity.
I measured the tallest bottle I owned and determined that I would be able to get two shelves in the space. The top would sit just below the lip of the vanity (this would be easiest and look cleaner) the second positioned so the tallest bottle could fit underneath on the base.
The narrowness of the space means the shelves themselves will not have to bear a lot of weight and therefore I could use a light-weight wood. I would also have to cut the edges to go around the power cord and odd angles of the shower stall so I decided to go with a soft Bass wood.
It is precut to 6”x ½” x 36” lengths at your hardware store in the craft woods section or also at some craft and hobby stores.
Small Space Storage - Bathroom Pieces

The other factor in this small space storage, was how to attach the shelves to keep them in place. The vanity looks like nice solid wood but the side I was using is just a thin laminate and not the best for holding any weight.
The back wall is the outer wall of the RV and I don’t like to put a holes in this wall if it is not absolutely necessary.
The right side is the shower stall which means glass and metal. Screws and brackets were out of the question but since it was such a narrow space I decided to just use extra strips of wood as supports to hold up the shelves.
Lastly an RV moves so I decided to put a dowel across the opening to keep the bottles in place while we drive.
 |
 |
 |
First, I cut two pieces of Bass wood the overall dimensions of the space.
These would be the actual shelves.
I am lazy by nature and take the least steps I can; but, if you need a template, by all means make one. I just put the wood in place and marked with a pencil the places where I needed to cut a notch. Of course I cut a little, tried to put it in place, cut a little more etc.
Bass wood is easy to cut if you take your time and do it bit by bit (I used a Coping saw but you could use a utility knife just don’t try to cut through the entire thickness at once – layer by layer and change your blades often) .
Once I had the top shelf notched correctly, I laid it on top of the second piece and marked where it also had to be notched. The shower or vanity or both were not plumb so it took a bit of adjusting here and there till the shelves fit snug at the correct height.
The shelves should be snug and a little difficult to put into position. Remember wood expands and contracts with the weather; so, don’t make it so tight that you have to bang it into place!
I cut a piece of scrap wood (1/2” thick) to the correct height and width of the back wall of the bottom shelf. It would be sitting on carpet so I added a 1/4” for the squish factor. This would support the back of the first shelf.
Then I cut 1 ½” wide strips from the extra Bass wood. These would be placed on either side of the front of the self to support it from the front. In this way my shelf would have support in the back center and the front two corners.
I cut these to the correct height and put all three supports and the shelf in place to check that it was level.
While the first shelf is in place repeat the same steps for
the top shelf. Put everything in place and check that it is level and the
supports are snug and the shelves don’t wobble.Our small space storage project is coming together!
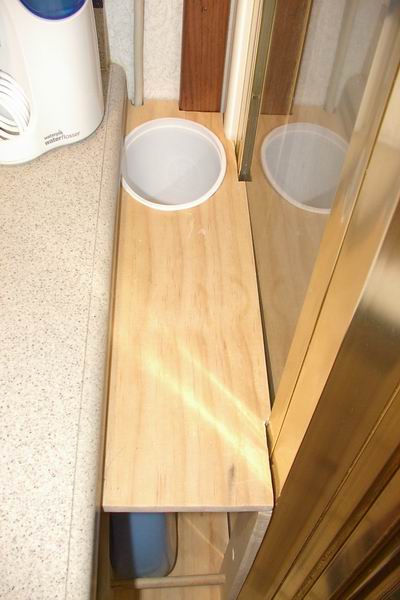
We were used to having a trash can right next to the sink and we thought we would miss it so I decided to add a little cup for trash. It had to be removable, cleanable and since I’m me, it had to be cheap.
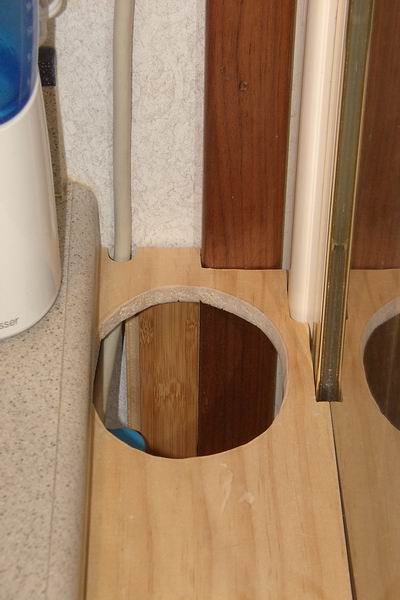
I found an empty quart yogurt container and marked the top shelf where I wanted it to fit, then cut out a hole. The container has a 1/8” lip around the top that keeps it from falling through the hole.
I cut two ½” dowels a ¼’ less than the total width of the openings. These would be my braces so the bottles don’t come out while we drive.
I played around with placement and decided the bottom brace would be toward the top and the upper brace toward the bottom of the opening. It was easier to get the bottles in and out of the small space with this configuration.
I drilled holes in the front supports at the correct height and put the dowels in place. Again I assembled everything and checked that all was snug and groovy.
Small Space Storage Finished Project
I originally intended to put a screw through the top of the shelves into each of the supports so all would be held together tight. After I assembled everything and played with putting the bottles in and out I found that I didn’t need to use the screws.
Everything stayed in place fine so I left it as it was, but if you prefer, add the screws.
I decided to paint it white to match the vanity top plus the paint will help water proof the wood.
I managed to clean out a small cabinet and put all my cleaning stuff in this new space. The empty cabinet now holds my herbal meds and vitamins away from the heat and steam of the bathroom.
Every RV is different but hopefully this may inspire you to use that awkward space that is dying to be filled with stuff.

