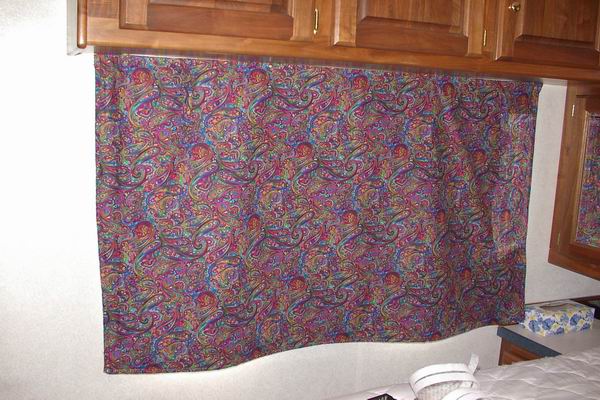
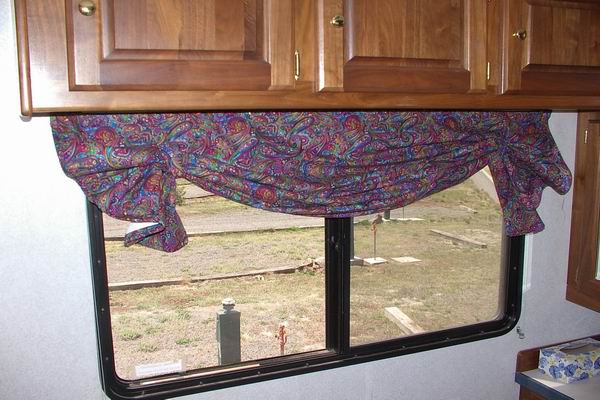
Blackout Curtains
Blackout Curtains are the perfect solution to room darkening in the bedroom. These Window Treatments are great in parking lots too.
A few years ago we took a 60 day trip to Alaska (which I highly recommend). We were advised to make blackout curtains since in the summer that far north it is light almost 24 hours a day.
I am cheap by nature and hate to spend money on temporary things so I headed to the nearest thrift store. If you have ever shopped for nice blackout curtains or just the fabric to make your own, I’m sure you know that can be an investment.
I found a pair of hideous 80’s mauve curtain panels. Professional pleats meant lots of fabric approximately 60” x 72” each panel. The important part was that they had blackout material on the back…only 6 bucks …yes!
Since these were only to be needed on our trip I didn’t put a lot of effort into rigging them up. I just cut off the pleats, folding the panels in half (ugly on the inside) making sure they were about 3” larger then the blinds on the sides and bottom.
A quick stitched single seam around the 3 sides then a pocket along the top for a rod. The rod would have been another purchase so I just put a loop of elastic on the top corners and the hubby put a hook on either side of the bedroom blinds. Easy peasy.
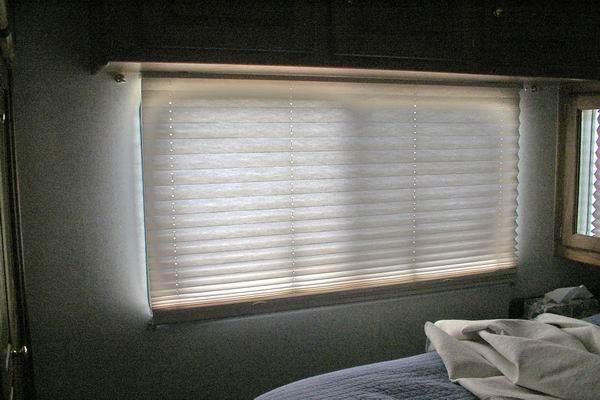
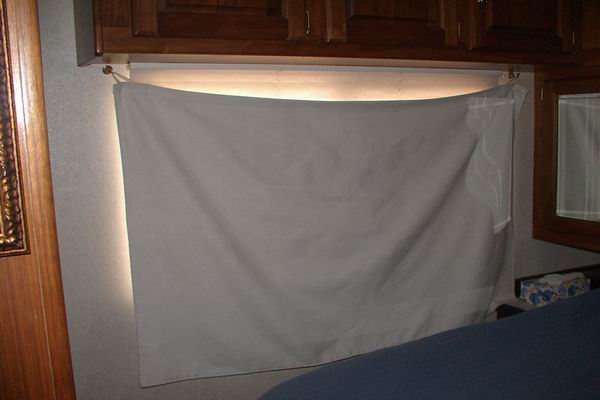
One of the first remodels we made to our coach was to remove all of the fabric covered boxes around the windows. I prefer minimal decorations to start with and in such a small space those big bulky boxes were just too much.
In the bedroom the ability to peek through the sides of the day/night shades was not an issue. The windows are almost as wide as the walls, with cabinets at either end so you can’t see anything - I checked.
The curtains worked perfect - nice and dark is the best way to sleep. After the trip we still used the curtains every night. We like to sleep in and even in the middle of nowhere the sun gets up before we do.
The day/night shades in most RV’s are convenient but they are not room darkening. Most RV parks have spot lights that shine all night long or if we stay in a Walmart parking lot we usually want to be near a light.
Since I thought these were only going to be temporary I didn’t make them pretty only functional and I was tired of looking at their blandness. I found some fabric I liked on Etsy so the time came to pretty up my cheap blackout curtains.
This is a link through which we make a small commission if you buy. See here for more details

Blackout Curtains Supplies
3 yds fabric – remember to allow extra for seams and rod pocket.
4 sheet metal screws – 1” long (update - probably should have used 3 screws per 54” window)
Screw driver
Drill
2 drill bits – one 2 sizes smaller then screws – one 2 sizes larger the screws
Flat aluminum - 8ft x 1/2” x 1/8”
Sew-in Velcro – approx 8”
Stick-on Velcro – approx 8"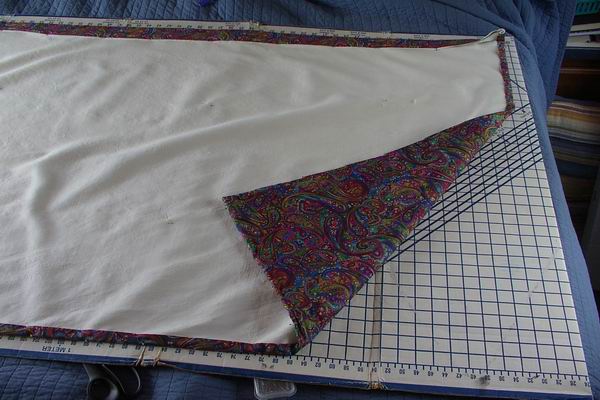
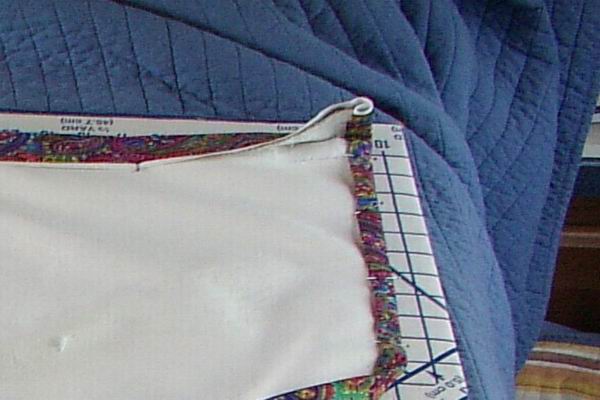
The blackout fabric already had a pocket in the top so I just pinned a solid piece of fabric (with seam allowances) onto the front of the blackout material.
To make sure to leave access to the pocket I had to rip out about 3” of the old seam at either end. This way I could sew the seam on the sides as through there wasn’t a pocket.
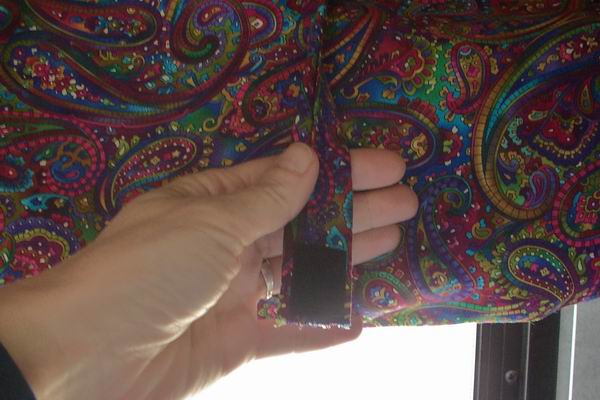
With the extra fabric I made 1” wide ties with a 2” piece of Velcro sewn on the ends to hold the curtain out of the way during the day.
The idea is that after I roll up the curtain I just attach the Velcro from the bottom of the front tie to the Velcro at the bottom of the back tie and it stays at the top of the window just at the height of the blind - like a valance.
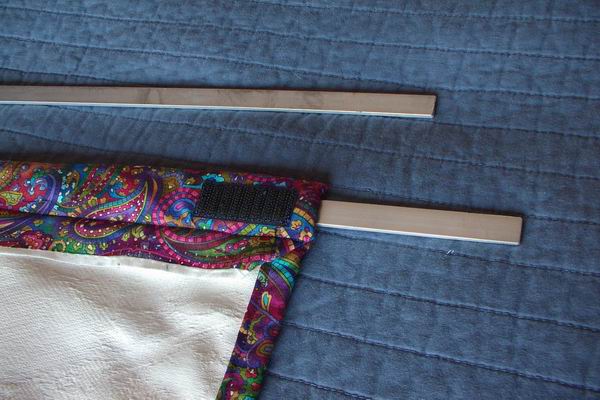

My curtains extent past the ends of the blinds and to keep the light from peeking in I attached a 2” piece of Velcro close to the end.
Pin the ties to the front and back of the curtain. Sew in place at the same time you are closing the pocket and attaching the new fabric across to the top.
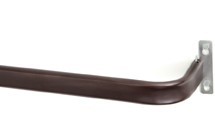
*At this point you could use a standard curtain rod. Just slip the rod through the pocket and clip into the hardware attached to the wall.
I don’t like to put holes in the outer walls of our RV whenever possible so I decided to mount the curtain directly to the blind itself. This means I can’t take it down and wash it but the blackout material doesn’t like to be washed so I am content with vacuuming.
A flat piece of aluminum ½” wide x 1/8” thick would act as my rod. It is easily cut and drilled but strong enough to hold the top straight. I cut the aluminum the same length as the blind and drilled 2 holes (smidge larger then the screw to be used) about 1/3 of the way in from both sides.
Use the aluminum rod as a template to mark where you holes need to be predrilled into the blind. Predrill the hole smaller then the sheet metal screws you will be using. You want the screw to have to work its way into the metal of the blind or it won’t be a tight fit.
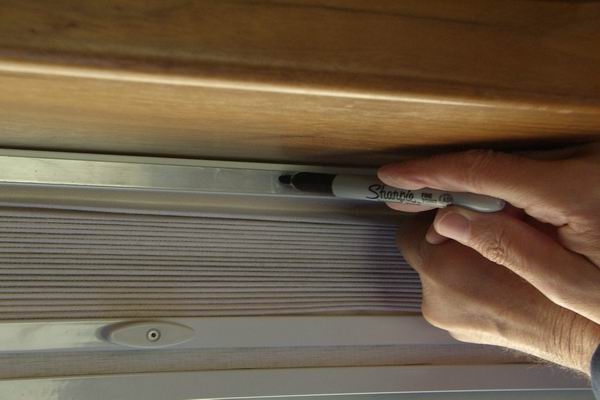

We are just screwing straight through the curtain front and rod right into the front of the blind itself.
Once you put the aluminum rod in the curtain pocket it is very difficult to determine where the holes are so lay the rod along the top of the pocket first and mark where the holes should line up.
Cut a small slit though all the layers of fabric in the front and back of the holes. The slit in the fabric on the front will also allow you to hide the screw from showing – after it is all attached just wiggle the fabric GENTLY from around the screw head to loosen it.
Put the screws through the holes in the fabric and rod before you attempt to mount it. Grab a helper if possible and screw the rod into place. I would recommend using a manual screw driver for this just to make sure you don’t strip out the holes in the metal of the blind.
A piece of stick-on Velcro on the wall on either side of the blind and you are finished.
Minor Caution
In the winter, if you are in a colder environment and use your heater, it is best to have your day/night shades up just a little from the very bottom of the window. This allows some air circulation to get past the curtains onto the windows so they won't get full of condensation.
No sense encouraging mold and mildew!!!
Blackout Curtains Options
Every RV is different inside as to how much space you have around the windows and how the blinds are mounted etc. You can modify this basic idea in many ways.
Here are some tutorials from other websites that will give you different versions of how to make blackout curtains that will work in your RV.
If you like the look of a cornice here is a tutorial on how to recover it:
Here is a No-sew tutorial for tab curtains:
This one shows how to add blackout material to a store bought curtain:
If you would prefer a roman shade:
